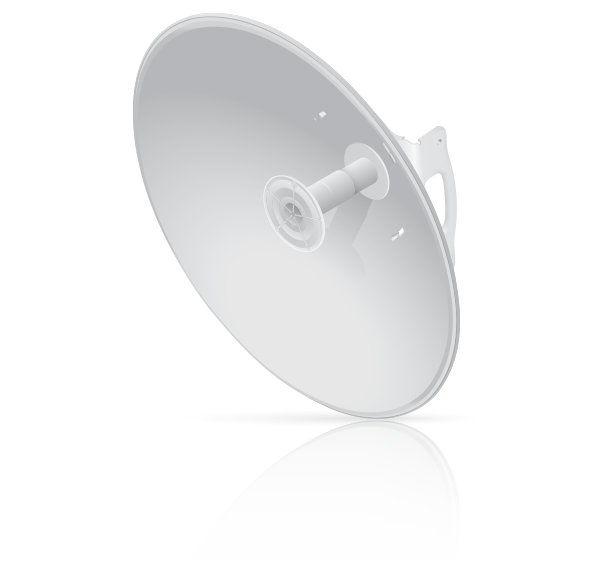
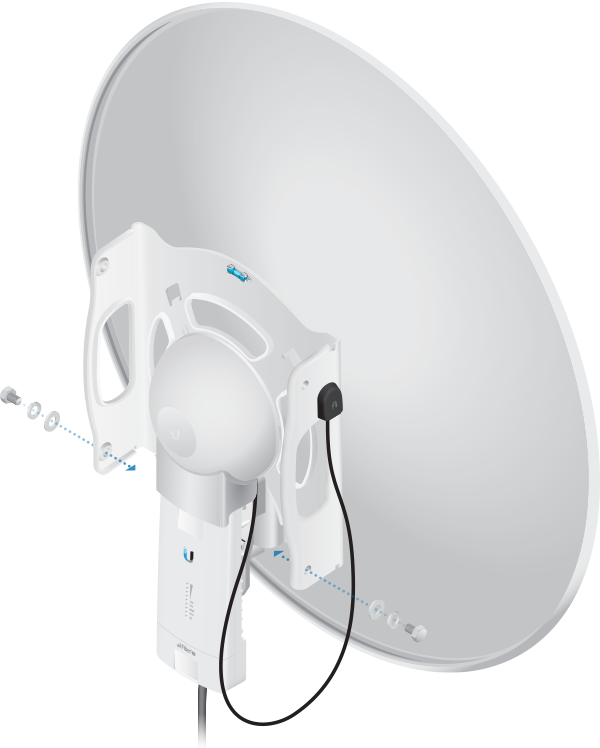
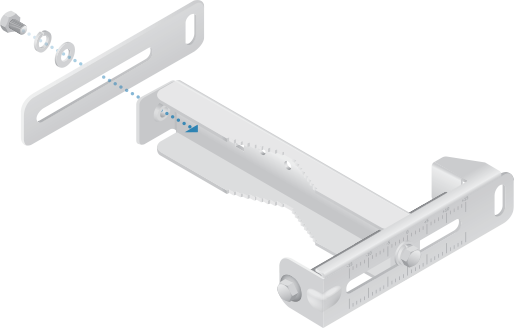
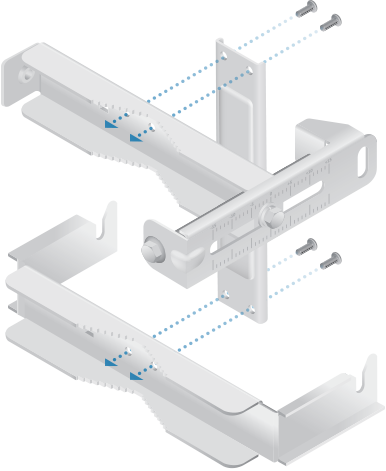
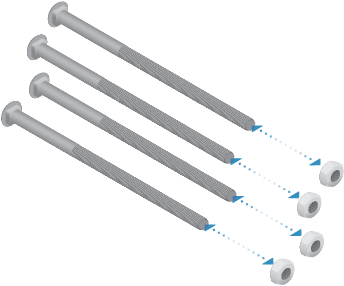
Package Contents
 |
|---|
| Dish Antenna |
 |
|---|
| Antenna Feed |
 |
|---|
| Mounting Bracket |
 |
|---|
| Protective Shroud |
 |
|---|
| Lower Pole Bracket |
 |
|---|
| Upper Pole Bracket |
 |
|---|
| Support Arm |
 |
|---|
| Brace |
 |
|---|
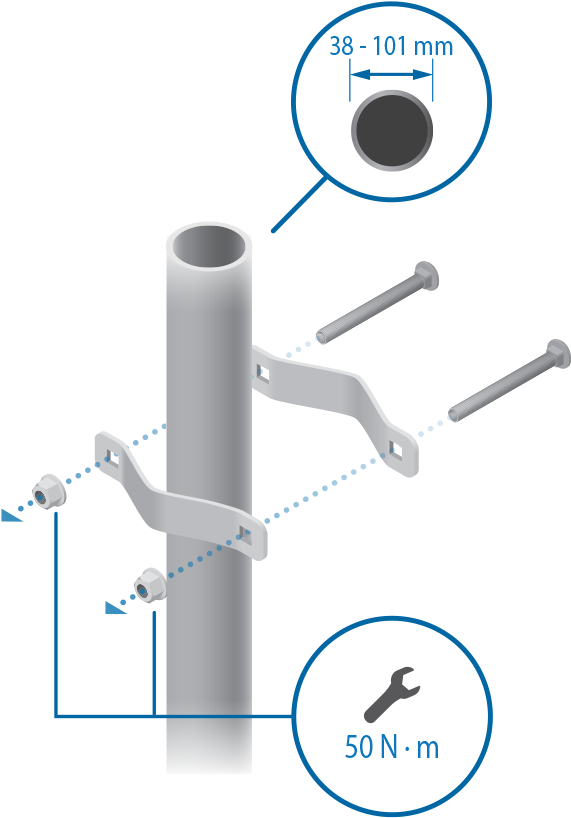
| Pole Clamps (Qty. 2) |
 |
|---|
| Stabilizer Brackets (Qty. 2) |
 |
|---|
| Screws (Qty. 4) |
 |
|---|
| Hex Head Bolts (Qty. 5) |
 |
|---|
| Lock Washers (Qty. 5) |
 |
|---|
| Flat Washers (Qty. 5) |
 |
|---|
| M10x100 Bolts (Qty. 2) |
 |
|---|
| Serrated Flange Nuts (Qty. 2) |
 |
|---|
| M8x150 Carriage Bolts (Qty. 4) |
Installation Requirements
- 5 GHz airFiber radio (sold separately)
- Phillips screwdriver
- 13 mm wrench
- Wrench or channel lock pliers with 63.5 mm (2.5") capacity
- Clear view of the sky for proper GPS operation
- Mounting point:
- At least 1 m below the highest point on the structure
- For tower installations, at least 3 m below the top of the tower
- Ground wire – min. 10 AWG (5 mm2) and max. length: 1 m. As a safety precaution, ground the airFiber radio to a grounded mast, pole, tower, or grounding bar.
- Shielded Category 6 (or above) cabling should be used for all wired Ethernet connections and should be grounded through the AC ground of the PoE.
| WARNING: Failure to properly ground your airFiber radio will void your warranty. |
|---|
Hardware Installation
|
|
Important: Handle the Dish Reflector with care. Deformations in its shape may reduce the antenna’s effectiveness. |
|---|
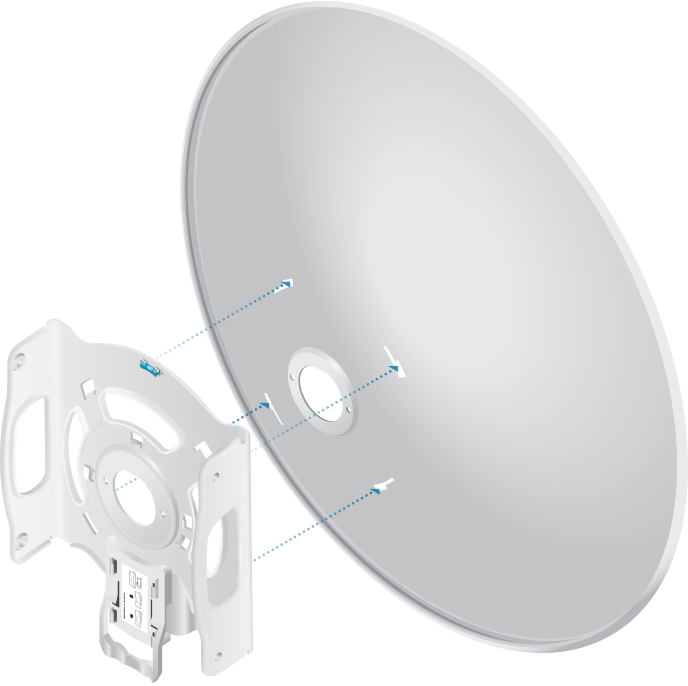
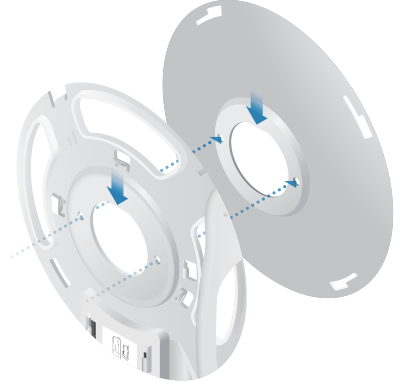
| Note: Ensure that the antenna feed slot of the Mounting Bracket lines up with the antenna feed slot of the Dish Reflector, as shown: |
|---|
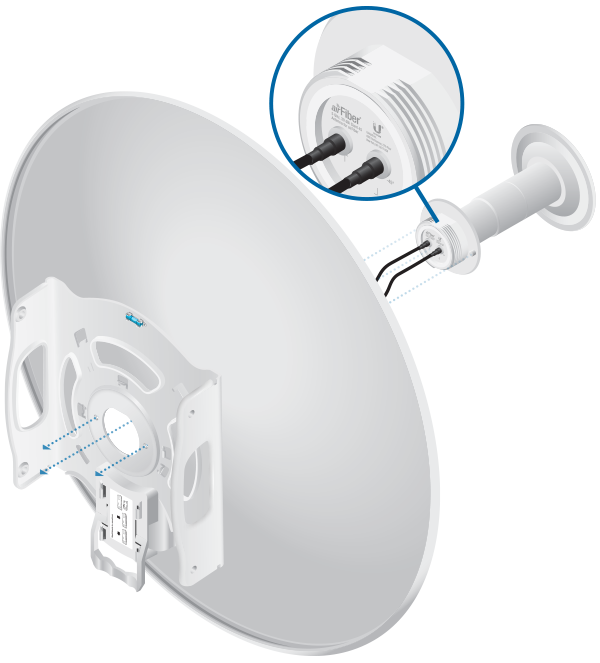
| IMPORTANT: The Dish Reflector and Antenna Feed are keyed so the Antenna Feed can only be installed in a single orientation. |
|---|
| Note: Ensure that the straight edge of the Antenna Feed end (as shown) and arrow on the Antenna Feed cap are pointing straight up. |
|---|
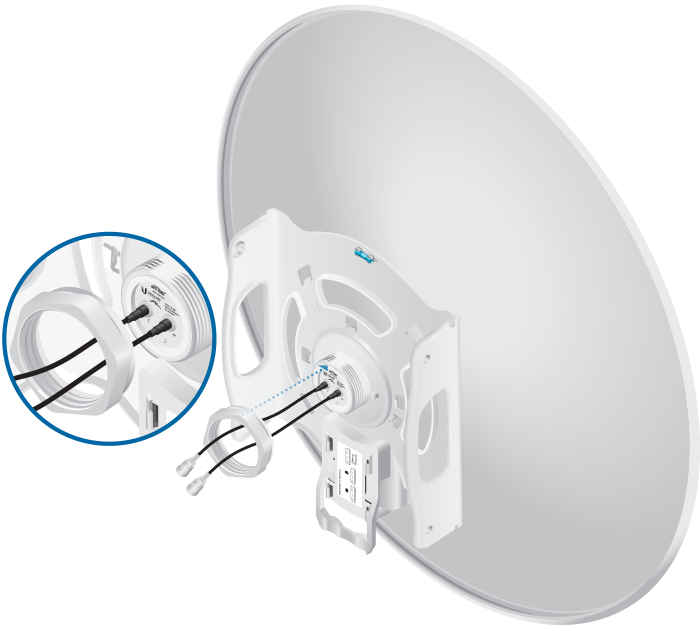
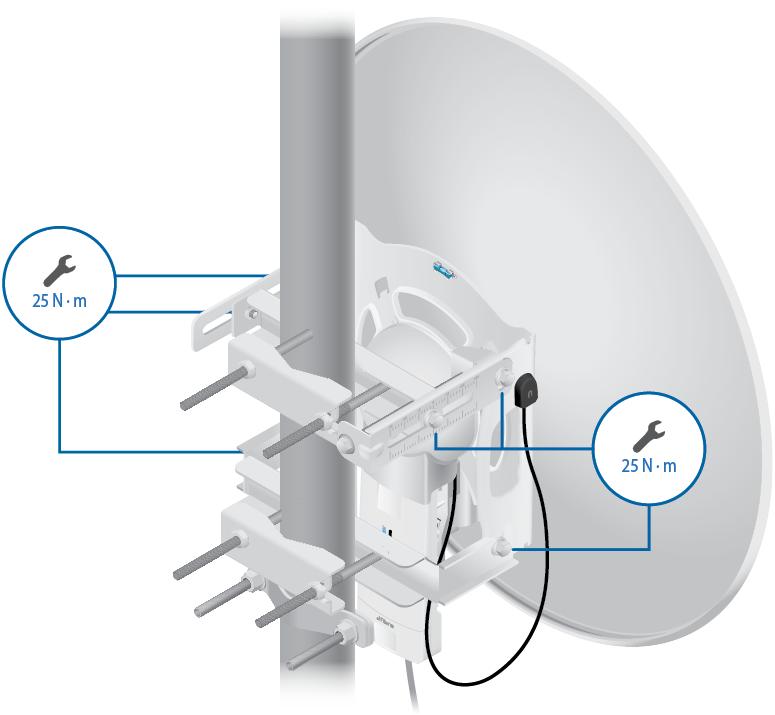
| Note: Hand-tighten until the knob touches the surface of the Mounting Bracket. Then use a wrench or channel lock pliers to tighten the knob an additional ¼ turn. Do NOT over-tighten the knob. |
|---|
| Note: Ensure that the Antenna Feed is securely attached by the knob. |
|---|
| IMPORTANT: Do not handle the antenna by the Antenna Feed once the feed is connected. |
|---|
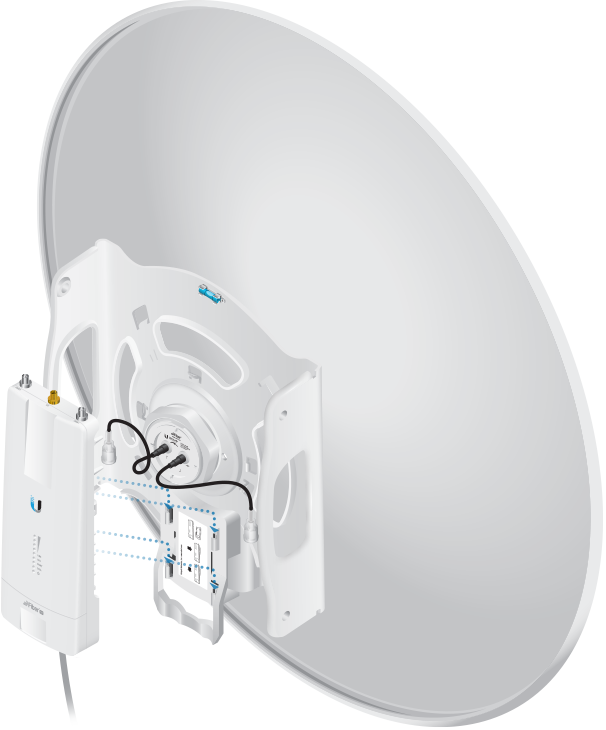
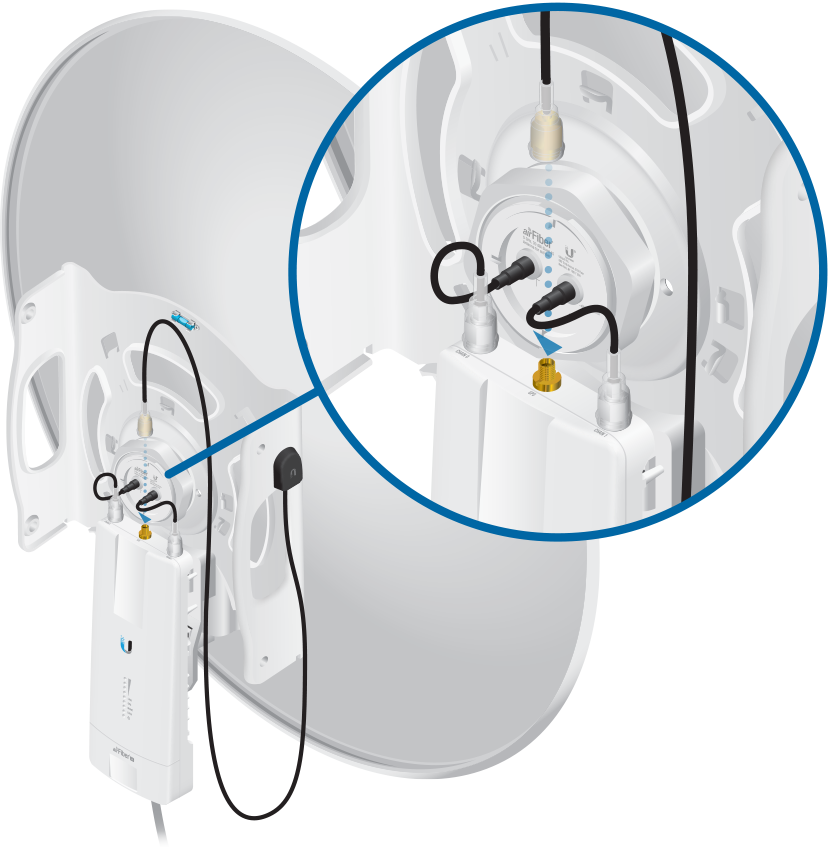
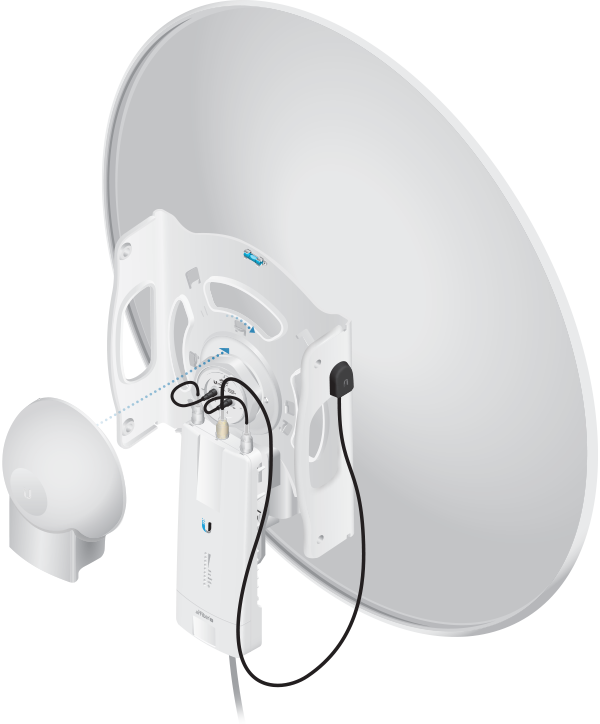
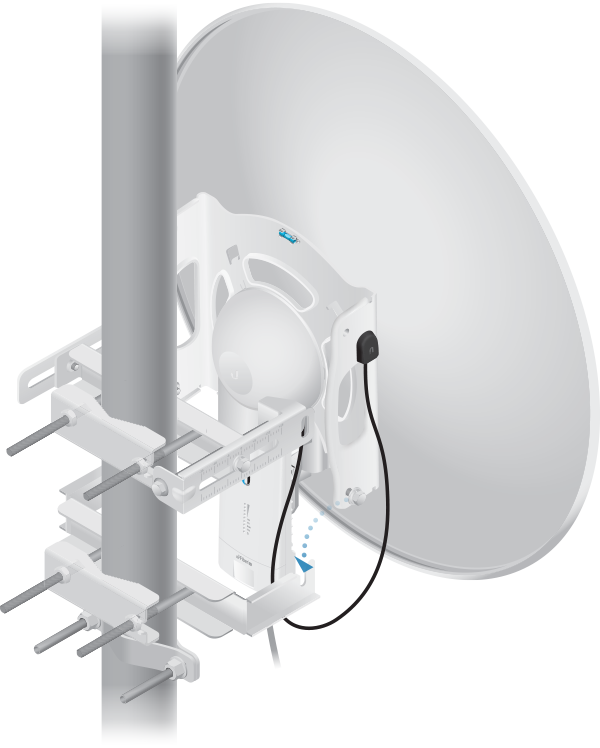
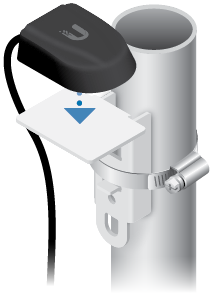
| Note: The magnetic GPS antenna is included with the airFiber radio. Place it on the Mounting Bracket (this is temporary; you will place the GPS antenna on the GPS antenna mount later). |
|---|
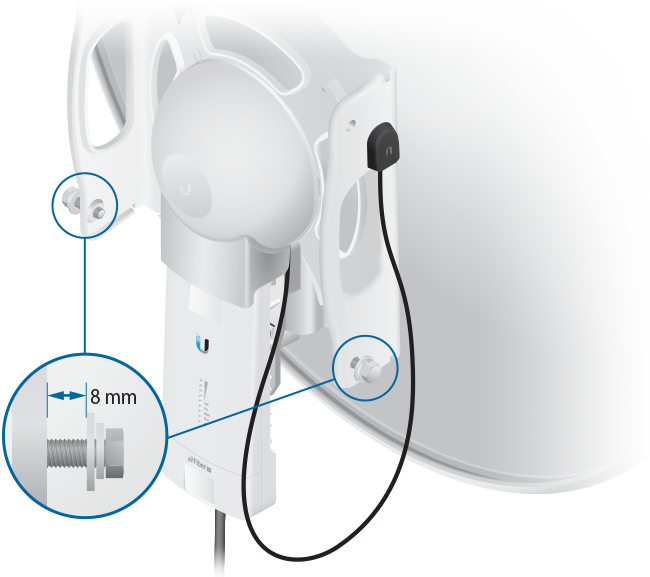
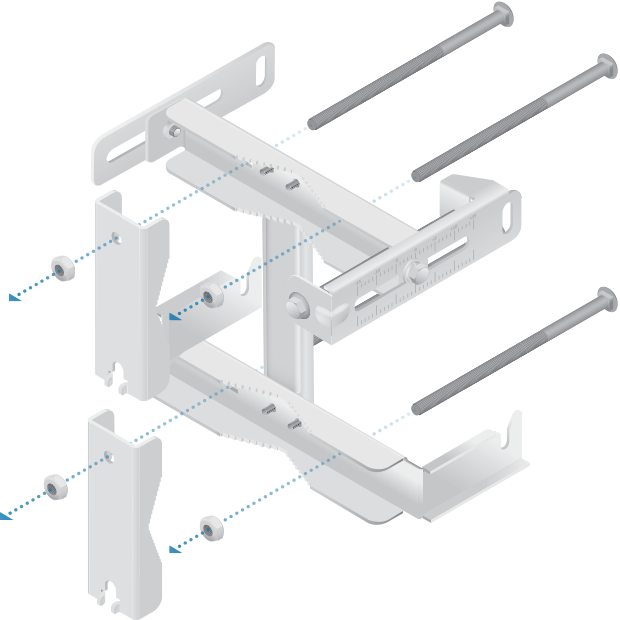
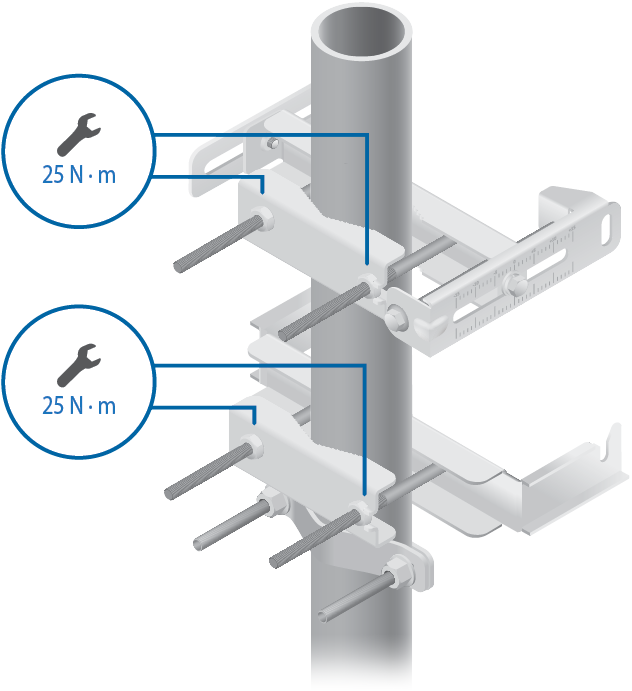
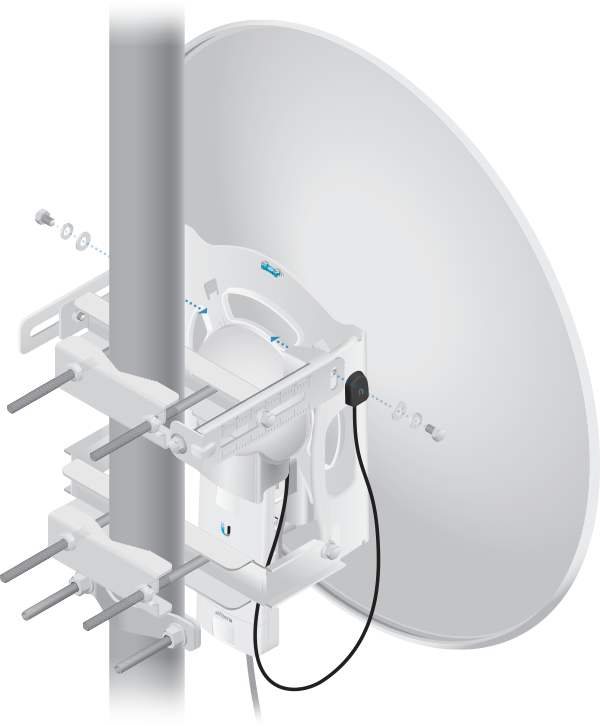
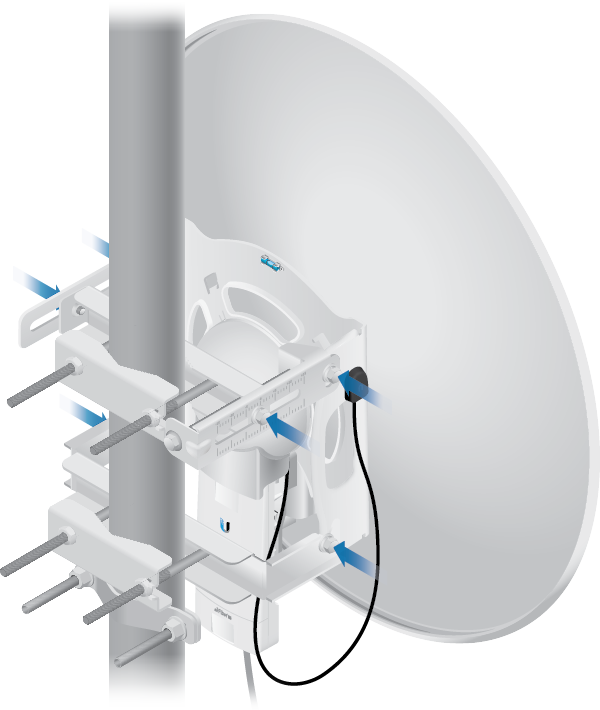
| Note: Ensure that each Lock Washer is always installed between the Hex Head Bolt and Flat Washer. |
|---|
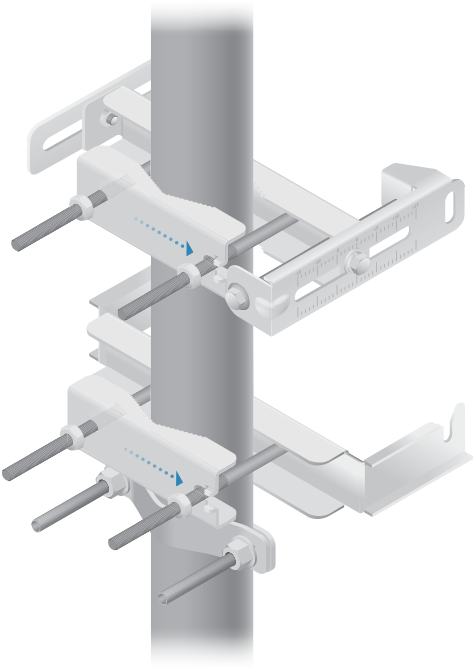
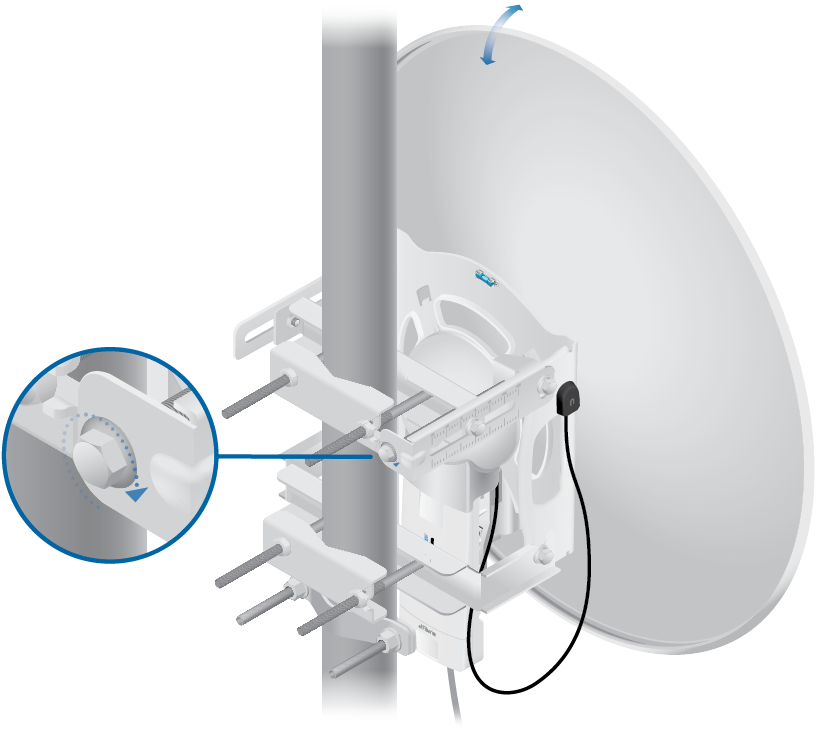
| Note: Ensure that the degree settings are facing outward and are the same on both arms of the Upper Pole Bracket. |
|---|
| IMPORTANT: Before adjusting the tilt angle, ensure that the six Hex Head Bolts are loose enough to allow movement. If you cannot spin the washers freely by hand, then loosen the Hex Head Bolts until you can. |
|---|
Mounting the GPS Antenna
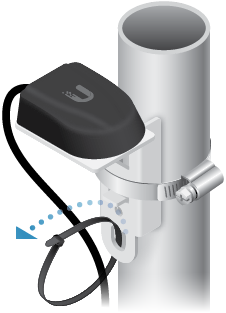
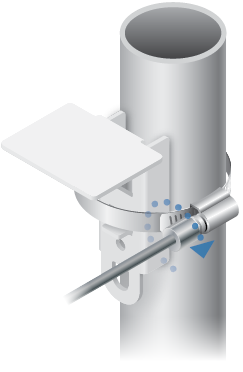
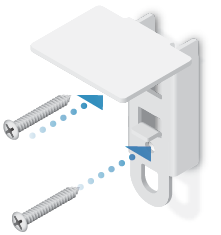
Locate a mounting point that has a clear view to the sky, and is above and as far away as possible from the antenna.
|
|
Note: All GPS items are included with the airFiber radio. |
|---|
OR
Specifications
|
AF-5G30-S45 |
|
|
Dimensions |
650 x 650 x 386 mm (25.6 x 25.6 x 15.2") |
|---|---|
|
Weight |
7.4 kg (16.31 lb) |
|
Frequency |
5.1 - 5.9 GHz |
|
Gain |
30 dBi |
|
Max. VSWR |
1.6:1 |
|
Wind Survivability |
200 km/h (125 mph) |
|
Wind Loading |
790 N @ 200 km/h (178 lbf @ 125 mph) |
|
Polarization |
Dual Linear |
|
F/B Ratio |
30 dB |
|
ETSI Specification |
EN 302 326 DN2 |
|
Mounting |
Universal Pole Mount, airFiber Radio Bracket, and Weatherproof RF Jumpers Included |
Safety Notices
- Read, follow, and keep these instructions.
- Heed all warnings.
- Only use attachments/accessories specified by the manufacturer.
| WARNING: Do not use this product in location that can be submerged by water. |
|---|
| WARNING: Avoid using this product during an electrical storm. There may be a remote risk of electric shock from lightning. |
|---|
Electrical Safety Information
- Compliance is required with respect to voltage, frequency, and current requirements indicated on the manufacturer’s label. Connection to a different power source than those specified may result in improper operation, damage to the equipment or pose a fire hazard if the limitations are not followed.
- There are no operator serviceable parts inside this equipment. Service should be provided only by a qualified service technician.
Limited Warranty
The limited warranty requires the use of arbitration to resolve disputes on an individual basis, and, where applicable, specify arbitration instead of jury trials or class actions.
Compliance
RF Exposure Warning
The antenna and transmitter must be installed to provide a separation distance from all persons and must not be located or operating in conjunction with any other antenna or transmitter. For the specific separation distance, refer to the Quick Start Guide for your Rocket device (transmitter).
L’antenne et l’émetteur doit être installé pour fournir une distance de séparation de toute les personnes et ne doit pas être situé ou opérant en conjonction avec une autre antenne ou un autre émetteur. Pour la distance spécifique de séparation, se référer au Guide de démarrage rapide pour votre appareil Rocket (l’émetteur).
